Simple DIY Lotion Recipe with Natural Ingredients and Easy Customization
Store-bought lotion can be convenient, but it often comes with long ingredient lists and scents that feel too strong and are not healthy for your skin. Making lotion at home gives you more control. You can choose gentle oils, adjust the texture, and create a scent that fits your mood.
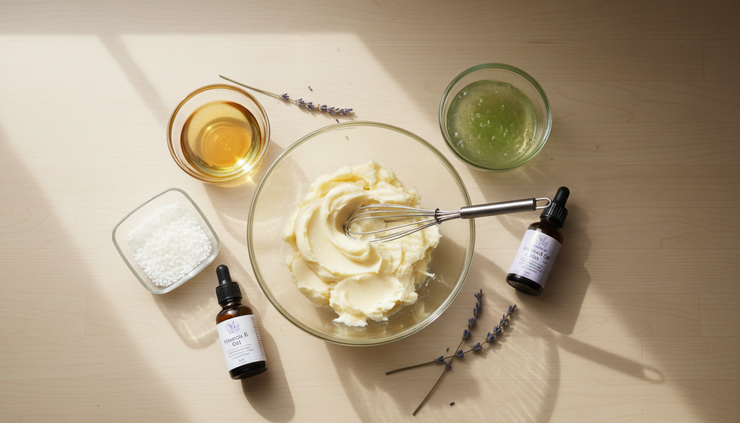
This simple DIY lotion recipe uses easy-to-find ingredients like shea butter, aloe vera, sweet almond oil, and vitamin E. It is rich enough for dry spots but light enough for everyday use. The key is using an emulsifying wax, which helps water-based ingredients and oils blend into a smooth, creamy lotion.
Why this homemade lotion works
A true lotion contains both water-based ingredients and oil-based ingredients. The water helps hydrate the skin, while the oils and butters help soften and reduce moisture loss.
Because oil and water do not stay mixed on their own, this recipe uses emulsifying wax. It creates a stable, creamy texture that feels like lotion instead of a greasy balm.
There is one more thing to know before starting. Any product that contains water can grow bacteria, yeast, or mold over time. For the safest homemade lotion, use a broad-spectrum cosmetic preservative if you plan to keep it longer than a few days. If you skip the preservative, make a tiny batch, keep it refrigerated, and use it within about a week.
Gather your ingredients and tools
This recipe makes about 8 ounces of lotion, which fits nicely in two small jars or one pump bottle.
Ingredient | Amount | Why it is included |
Distilled water | 1/2 cup | Adds lightweight hydration |
Aloe vera gel (https://amzn.to/3V10xGY) | 2 tablespoons | Soothes and adds a fresh feel |
Shea butter (https://amzn.to/4gXX2K3) | 2 tablespoons | Gives creaminess and comfort |
Sweet almond oil (https://amzn.to/4ccRqZN) | 2 tablespoons | Softens without feeling too heavy |
Emulsifying wax (https://amzn.to/4ch12mk) | 1 tablespoon | Helps oil and water blend |
Vitamin E oil (https://amzn.to/4gB3cP3) | 1 teaspoon | Supports the oil blend and helps condition skin |
Broad-spectrum preservative (https://amzn.to/4hWcB65) | Use label rate | Helps keep water-based lotion safer |
Essential oil | 6 to 12 drops | Adds scent, if desired |
You will also need:
A heat-safe glass bowl or jar
A small saucepan
A whisk or immersion blender
Measuring spoons
A clean lotion jar or pump bottle
Rubbing alcohol for sanitizing tools and containers
Choose distilled water rather than tap water. It helps reduce impurities and gives the lotion a cleaner start.

Make the lotion step by step
1. Sanitize your tools
Wash your tools, bowls, and containers with hot soapy water. Let them dry fully. Wipe them with rubbing alcohol and let the alcohol evaporate.
This step helps keep the lotion fresher and cleaner.
2. Heat the oil phase
Add the shea butter, sweet almond oil, and emulsifying wax to a heat-safe glass bowl or jar.
Place it over a small saucepan with a few inches of simmering water. Stir gently until everything melts. Do not let water splash into the oil mixture.
3. Warm the water phase
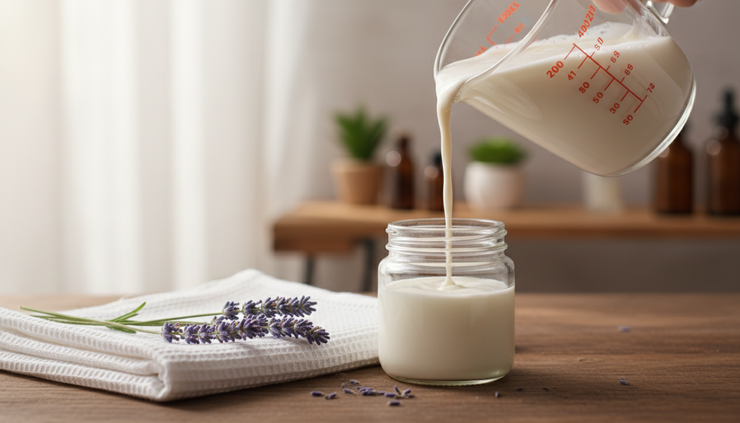
In a separate heat-safe container, combine the distilled water and aloe vera gel. Warm it gently in the same water bath until it feels hot but not boiling.
Warming both phases helps them blend smoothly.
4. Blend the lotion
Slowly pour the warm water mixture into the melted oil mixture while whisking. Keep whisking for several minutes as the lotion turns creamy.
For an extra smooth texture, use an immersion blender in short bursts. Avoid blending too aggressively, which can whip in too much air.
5. Cool and add delicate ingredients
Let the lotion cool until it is warm, not hot. Stir in the vitamin E oil.
If using a preservative, add it according to the product’s label directions. Different preservatives have different usage rates and temperature limits, so follow the instructions carefully.
Add essential oil if you want scent. Start with a small amount. You can always add one or two more drops, but you cannot take them out.
6. Bottle and label
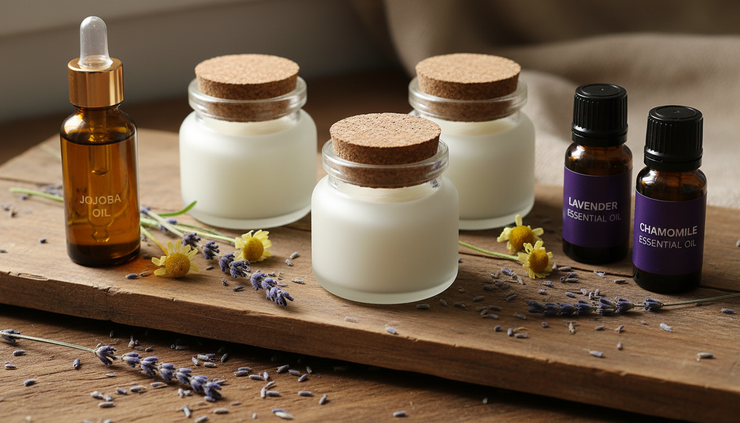
Spoon or pour the lotion into a clean jar or pump bottle. Label it with the date and ingredients.
The lotion will thicken as it cools. If it looks a little loose at first, give it time.
What each ingredient does for your skin
Aloe vera gel gives the lotion a light, cooling feel. It works well in hand and body lotions because it is water-based and not greasy.
Shea butter adds richness. It is a good choice for dry elbows, knees, hands, and legs. If you prefer a lighter lotion, reduce the shea butter slightly and use more liquid oil.
Sweet almond oil feels smooth and mild. It is easy to find in many grocery stores, pharmacies, and health food shops. If you have a nut allergy, swap it for jojoba oil, sunflower oil, or grapeseed oil.
Vitamin E oil helps condition the skin and supports the oil portion of the recipe. It is not a preservative for water-based lotion, but it is a useful addition.
Emulsifying wax is what makes the recipe behave like lotion. Beeswax alone will not do the same job. It can thicken oils, but it will not reliably combine oil and water.
Customize the scent and texture
This is where homemade lotion becomes fun. Small changes can make the lotion feel completely different.
For a lighter lotion:
Use less shea butter
Try jojoba or grapeseed oil
Add a little more distilled water
For a richer body cream:
Add an extra teaspoon of shea butter
Use avocado oil or olive oil
Store it in a jar instead of a pump bottle
For scent, try simple combinations:
Lavender and vanilla for a soft bedtime lotion
Sweet orange and cedarwood for a warm, clean scent
Peppermint and rosemary for a fresh foot lotion
Unscented for sensitive skin or daily hand use
Use essential oils with care. Some can irritate skin, especially in higher amounts. Avoid using citrus oils before sun exposure unless the oil is labeled non-phototoxic. For children, pregnancy, or sensitive skin, unscented is often the best choice.
Store it safely and enjoy the process
Keep your lotion in a clean container and use clean hands if dipping into a jar. A pump bottle is even better because it limits contact.
If you used a preservative, follow the preservative label for expected shelf life. If you did not use one, store the lotion in the refrigerator and use it quickly. Toss it if the smell, color, or texture changes.
The best part of making lotion at home is learning what your skin likes. Try one change at a time, such as a new oil, a lighter texture, or a calming scent. Take notes as you go, and soon you will have a custom lotion that feels just right.


Comments