DIY All-Natural Bath Soap for Homeschool Families Step by Step Fun and Holistic Care
A simple bar of soap can turn into a science lesson, a sensory activity, a family wellness habit, and a useful handmade gift. That is the beauty of making bath soap or body wash at home. It is practical, creative, and easy to connect with everyday learning.
For homeschooling families, this project fits naturally into the rhythm of the day. Children can measure, observe changes, compare scents, draw labels, practice kitchen safety, and learn why ingredients matter. At the end, everyone has something they can actually use.
This guide focuses on two family-friendly options:
A melt-and-pour natural bath soap
A simple all-natural body wash using liquid castile soap
Both avoid the safety risks of handling lye at home with children nearby. Traditional soap making uses lye, and true soap cannot be made without it. Melt-and-pour soap has already gone through that process, so families can enjoy the creative part with less worry.

Why natural bath soap belongs in a holistic home routine
Bath products touch skin every day. Choosing simpler ingredients gives families more control over what goes into that routine. It also makes the process more transparent for children. Instead of seeing soap as something that just appears in a bottle, they can learn that it comes from fats, oils, water, chemistry, and careful choices.
Natural soap and body wash can support a holistic approach in a few practical ways.
Fewer unnecessary additives
Many commercial soaps and washes include synthetic fragrance, artificial color, and strong detergents. Not every synthetic ingredient is harmful, and not every natural ingredient is automatically safe. Still, a shorter ingredient list is easier to understand and adjust.
A homemade recipe lets you skip bright dyes, heavy perfume, and extra fillers. This is especially helpful for households that prefer mild scents or have family members who dislike strong fragrances.
Gentle ingredient options
Ingredients like oatmeal, aloe, honey, shea butter, coconut oil, olive oil, and jojoba oil are common in natural skin care. They can add a soft feel to soap and make bath time more pleasant.
Oats are especially useful in family soap projects because they are easy to find, inexpensive, and kid-friendly to work with. Finely ground oats also add a light texture.
Aromatherapy as a mindful ritual
Essential oils can make soap feel special, but they should be used with care. Lavender, sweet orange, cedarwood, and chamomile are popular choices for gentle family blends. Peppermint, eucalyptus, cinnamon, clove, and wintergreen can be too strong for young children, so it is best to avoid them in kid-focused bath products.
For children, use a very light scent. A small amount is enough. Essential oils are concentrated plant extracts, not casual perfumes.
Less waste when you reuse supplies
Homemade soap can reduce packaging when families buy ingredients in larger containers and reuse molds, jars, and pump bottles. It also encourages children to think about waste, storage, and responsible use.
That turns bath care into a broader lesson in stewardship and daily habits.
Gather safe ingredients and simple supplies
Start with a tidy workspace. Soap making with children goes best when everything is set out before anyone starts pouring, stirring, or asking to smell every bottle on the table.
For this DIY All-Natural Bath Soap for Homeschool Families Step by Step Fun and Holistic Care project, choose ingredients that are easy to handle and easy to explain.
Ingredients for melt-and-pour bath soap
Use this recipe for about 6 small bars, depending on mold size.
1 pound natural melt-and-pour soap base (https://amzn.to/4zQmokw) Choose goat milk, shea butter, olive oil, or clear vegetable glycerin base.
1 tablespoon finely ground oats
1 teaspoon honey, optional (https://amzn.to/4iIFL8W)
1 teaspoon melted coconut oil or jojoba oil, optional (https://amzn.to/4zUWLyS)
10 to 20 drops child-safe essential oil
Dried flowers or herbs, optional Lavender buds or calendula petals work well, but use them lightly. (https://amzn.to/4qPILm2)
If the soap is for very young children or anyone with sensitive skin, skip the essential oil or use only a few drops in the whole batch.
Ingredients for simple natural body wash
Use this recipe for one small bottle.
1 cup unscented liquid castile soap (https://amzn.to/464fZ7Q)
1 tablespoon vegetable glycerin (https://amzn.to/4cTxfjO)
1 teaspoon jojoba oil, olive oil, or fractionated coconut oil (https://amzn.to/4zUWLyS)
8 to 15 drops child-safe essential oil, optional
1 teaspoon raw honey, optional (https://amzn.to/4iIFL8W)
Do not add tap water to this recipe if you want it to last longer. Water can encourage spoilage unless a proper preservative is used. If you prefer a thinner wash, dilute a small amount in your hand at bath time instead of diluting the whole bottle.
Tools and supplies
Microwave-safe glass measuring cup or double boiler
Silicone soap molds (https://amzn.to/4gAJQuv)
Measuring spoons
Small whisk or spoon
Spray bottle with rubbing alcohol, optional
Cutting board and knife for soap base
Funnel for body wash
Clean pump bottle or squeeze bottle (https://amzn.to/4x3jUg0)
Labels and markers (https://amzn.to/4yhtD3l)
Keep essential oils out of reach when they are not being used. Children can smell them from the bottle with help, but an adult should handle the drops.

Make all-natural melt-and-pour bath soap step by step
This method is the best starting point for families. It feels like a craft, but it also teaches heat safety, measurement, states of matter, scent blending, and patience.
Step 1. Cut the soap base into cubes
Place the soap base on a cutting board. An adult should cut it into 1-inch cubes so it melts evenly.
Children can count the cubes, compare sizes, or predict how long they will take to melt. Younger children can help place the cubes into the measuring cup after the cutting is done.
Step 2. Melt the soap gently
Microwave the cubes in short bursts, about 20 to 30 seconds at a time, stirring between each round. You can also use a double boiler on the stove.
Do not let the soap boil. Too much heat can change the texture and make the soap rubbery.
This is a good moment to ask a science question:
What changed when the soap went from solid cubes to liquid?
Children can describe what they see, draw it in a notebook, or write the words `solid` and `liquid`.
Step 3. Stir in oats and optional oils
Once the soap is melted, stir in the finely ground oats. Add honey or a small amount of coconut or jojoba oil if using.
Keep extras modest. Too much oil can make the bar soft or slippery. Too much honey can make it sticky.
A simple blend for families is:
Oats for gentle texture
Honey for a smooth feel
Lavender essential oil for a calm scent
For a bright morning soap, try:
Oats
A small amount of jojoba oil
Sweet orange essential oil
Use citrus oils carefully because some can make skin more sensitive to sunlight. Sweet orange is a common choice for rinse-off products, but keep the amount low.
Step 4. Add essential oils safely
Let the soap cool slightly before adding essential oils. If it is extremely hot, the scent may fade quickly.
Add 10 to 20 drops for a full pound of soap base, then stir well. Use less for children. For babies, toddlers, or anyone with sensitive skin, unscented soap is often the best choice.
Good gentle options include:
Lavender
Roman chamomile
Sweet orange
Cedarwood
Avoid strong oils in family bath soap unless you know they are appropriate for the ages in your home.
Step 5. Pour into molds
Carefully pour the melted soap into silicone molds. An adult should handle the hot soap. Children can help choose mold shapes, sprinkle a tiny pinch of dried flowers on top, or gently tap the mold tray to release air bubbles.
If bubbles appear on the surface, a light spray of rubbing alcohol can help pop them. This is optional.
Step 6. Let the bars cool completely
Leave the soap undisturbed until firm. This usually takes a few hours at room temperature. You can place the molds in the refrigerator for a shorter wait, but do not freeze them.
When the bars are firm, gently peel back the silicone mold and pop them out.
Step 7. Label and store
Wrap the bars in parchment paper, place them in a basket, or store them in a covered container. Add a label with the ingredients and date.
Children can design labels as an art lesson. They can also name each blend, such as “Sunshine Oat Bar” or “Lavender Bedtime Soap.”
Store homemade melt-and-pour soap in a cool, dry place. In the bath, keep it on a draining soap dish so it does not sit in water.
Make a simple all-natural body wash step by step
Body wash is even quicker than soap bars because there is no melting or cooling. This option works well when the family wants a fast project or a refillable bottle by the tub.

Step 1. Clean the bottle
Wash and dry a pump or squeeze bottle before filling it. If reusing a bottle, make sure no old product remains inside.
A funnel makes this step easier and less messy.
Step 2. Add liquid castile soap
Pour 1 cup of unscented liquid castile soap into the bottle. Castile soap is concentrated, so a little goes a long way.
Children can help hold the funnel or read the measurement line on the measuring cup.
Step 3. Add glycerin and oil
Add 1 tablespoon of vegetable glycerin. This gives the body wash a softer feel.
Add 1 teaspoon of jojoba, olive, or fractionated coconut oil. Use only a small amount. Too much oil may separate or leave the tub slippery.
Step 4. Add a light scent
Add 8 to 15 drops of essential oil if using. For a family bottle, keep the scent gentle.
Try one of these simple blends:
Calm evening wash
Sunny morning wash
Unscented sensitive wash
8 drops lavender and 3 drops chamomile
10 drops sweet orange and 2 drops cedarwood
No essential oil
Do not mix castile soap with vinegar or lemon juice in the bottle. Acidic ingredients can break down the soap and leave an unpleasant texture.
Step 5. Shake gently
Put the lid on the bottle and shake slowly to combine. The body wash may separate a little over time. That is normal. Shake before each use.
Use a small amount on a washcloth or bath sponge. Because natural castile soap can feel different from commercial body wash, start with less than you think you need.
Step 6. Store it well
Keep the bottle closed between uses. If the smell, color, or texture changes, throw it away and make a fresh batch.
For a homeschool record, children can write the recipe in a family project notebook and note how the body wash looks after one week.
Turn soap making into a homeschool lesson
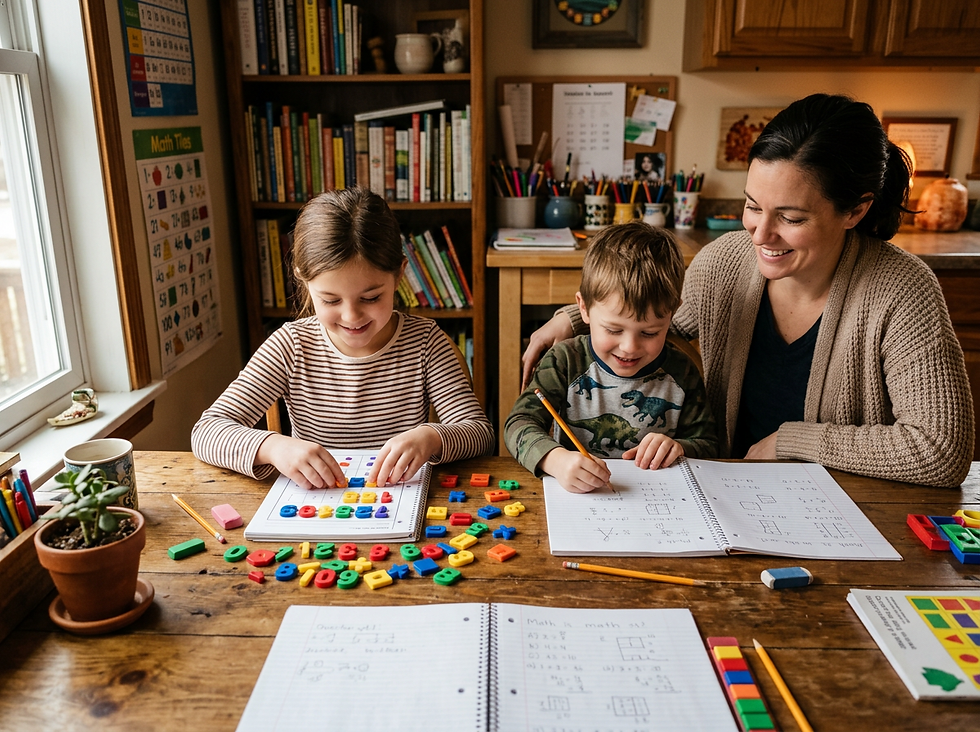
This project can fit many ages and subjects. The key is giving each child a real job that matches their ability.
Younger children can:
Count soap cubes
Choose mold shapes
Smell herbs with supervision
Sprinkle oats or flowers
Draw labels
Practice cleanup
Older children can:
Measure ingredients
Calculate half batches or double batches
Research plant sources
Compare bar soap and liquid soap
Write ingredient labels
Track results in a notebook
Teenagers can go further by studying saponification, pH, skin structure, product preservation, and safe essential oil dilution. They can also compare ingredient lists from store-bought products and homemade versions.
Add science without making it complicated
A soap project can cover several science ideas:
States of matter
The soap base melts, pours, cools, and hardens again.
Solubility and suspension
Oats may float, sink, or spread through the soap depending on grind size and soap temperature.
Plant chemistry
Essential oils come from leaves, flowers, peels, bark, roots, or resin. Children can match each oil to its plant part.
Observation
Ask children to compare texture, scent, lather, and firmness after the soap cures.
A simple observation chart works well:
Soap blend | Texture | Scent strength | Lather | Favorite use |
Oat and honey | Slightly scrubby | Light | Creamy | Hands |
Lavender oat | Smooth | Medium | Soft | Bath |
Unscented shea | Very smooth | None | Creamy | Sensitive skin |
Add art, language, and life skills
Soap making is not only science. It also supports creative and practical learning.
Children can write product names, design wrappers, practice handwriting, create gift tags, or write a short “how we made it” paragraph. They can learn cleanup habits, safe handling, and the value of making useful things at home.
For a faith-based, nature-based, or wellness-centered homeschool, this project can also open conversations about caring for the body, using resources wisely, and noticing the plants that provide oils, herbs, and scents.
Keep the project safe, gentle, and realistic
Natural body care should feel simple, not stressful. A few safety habits make the experience smoother.
Patch test new soap before regular use. Wash a small area and wait to see whether the skin reacts.
Use essential oils sparingly. More scent does not mean better soap.
Avoid rough exfoliants like coarse salt, large seeds, or sharp dried herbs in children’s bath products.
Label every batch. Include the date and ingredients.
Keep the tub safe. Oils can make surfaces slippery, so use tiny amounts and rinse the tub if needed.
Skip ingredients that trigger family allergies. Nut oils, dairy-based soap, honey, herbs, and fragrance ingredients may bother some people.
Do not treat homemade soap as medicine. It can be part of a gentle care routine, but it should not be used to treat rashes, infections, eczema flares, or other skin conditions without guidance from a qualified health professional.

A simple weekly rhythm for holistic bath care
Homemade soap works best when it becomes part of a calm routine rather than a one-time craft.
Try making a small batch once a month. Let children choose one seasonal ingredient or scent. In spring, use calendula. In summer, try unscented aloe-style soap base. In fall, use oats and a tiny amount of cedarwood. In winter, choose shea butter base with lavender.
Keep the routine simple:
Make soap together
Label it clearly
Store it neatly
Use it mindfully
Notice what the family likes best
That small cycle teaches care, patience, and observation. It also gives children a sense of ownership over everyday habits.
Homemade bath soap and body wash do not need to be perfect to be worthwhile. Start with a plain recipe, keep scents gentle, and let the learning happen naturally. The best part is not just the finished bar by the sink. It is the shared time, the questions, the measuring, the laughter, and the quiet lesson that caring for the body can be thoughtful, simple, and hands-on.
Comments